Github Action과 AWS S3를 이용한 배포
지난번에 만들었던 간단한 Counter App을 Github action과 연동해서 AWS S3를 이용한 배포를 진행해보려고 합니다.
먼저 Repo를 생성하고 github action을 연동해줍니다. cli는 node.js를사용했습니다.
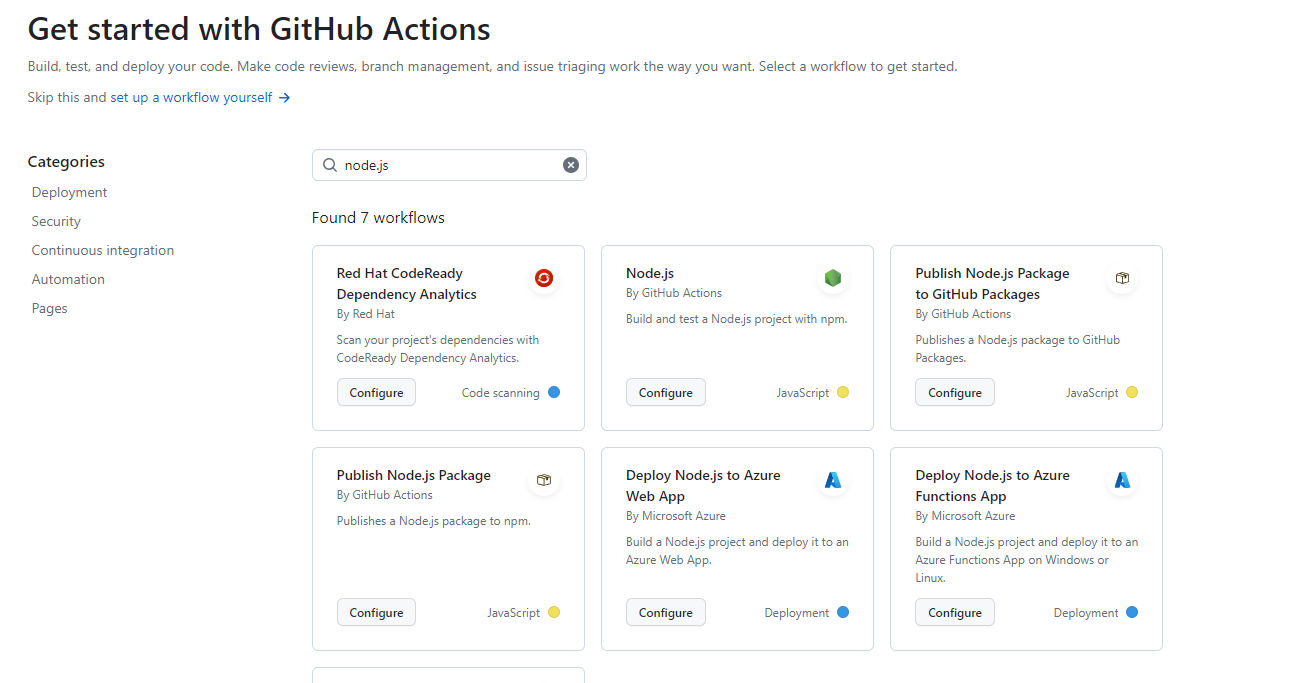
Node.js를 선택하고 node.js.yml 파일 설정을 해줍니다.
기본 제공하는 포맷을 그대로 사용합니다. 아직-- 모르는게 넘 많아서 차차 공부해보겠습니다.
# This workflow will do a clean installation of node dependencies, cache/restore them, build the source code and run tests across different versions of node
# For more information see: https://docs.github.com/en/actions/automating-builds-and-tests/building-and-testing-nodejs

name: Node.js CI

on:
  push:
    branches: [ "main" ]
  pull_request:
    branches: [ "main" ]

jobs:
  build:

    runs-on: ubuntu-latest

    strategy:
      matrix:
        node-version: [16.x, 18.x]
        # See supported Node.js release schedule at https://nodejs.org/en/about/releases/

    steps:
    - uses: actions/checkout@v3
    - name: Use Node.js ${{ matrix.node-version }}
      uses: actions/setup-node@v3
      with:
        node-version: ${{ matrix.node-version }}
        cache: 'npm'
    - run: npm i
    - run: npm run build --if-present
    - run: npm test
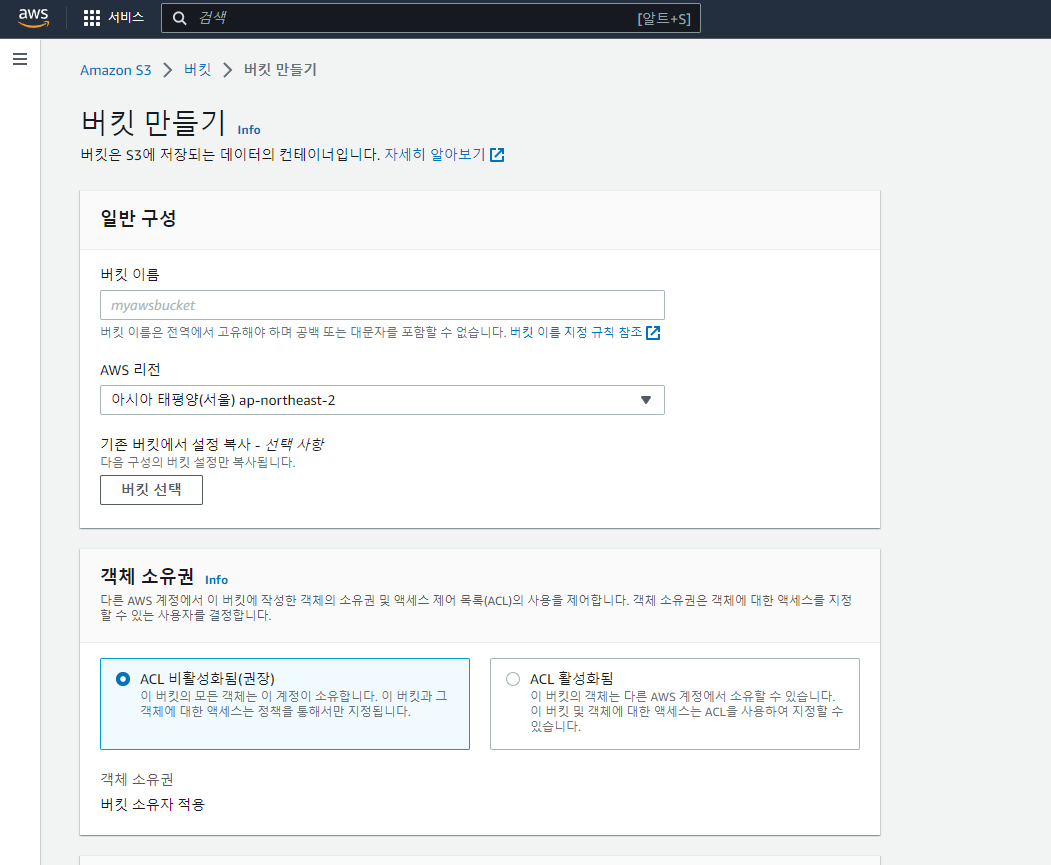
그리고 AWS S3를 이용한 정적 웹사이트 호스팅을 하려고하니 먼저 버킷을 만듭니다.
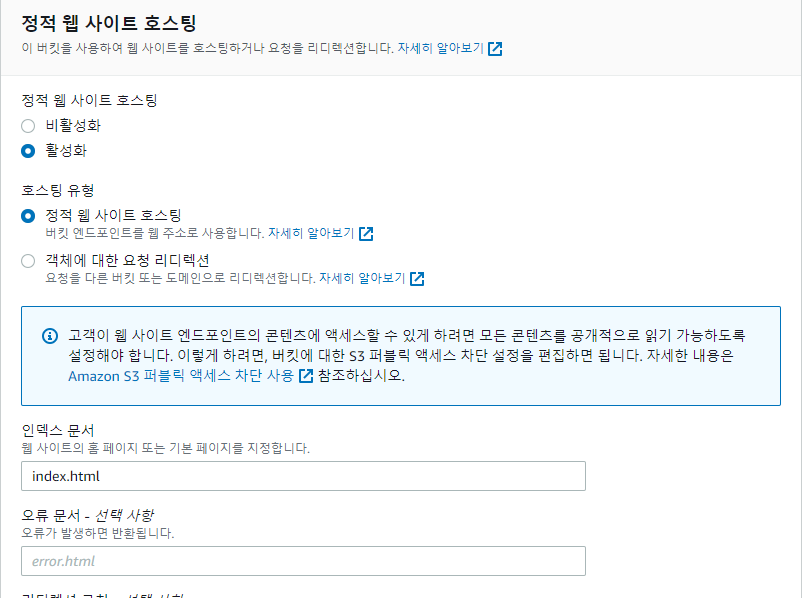
그리고 만들어진 버킷의 정적 웹사이트 호스팅 관련 설정을 좀 더 해줍니다.
그리고 권한 Tab에 들어가서 권한 설정도 쪼꼼 만져줍니다.
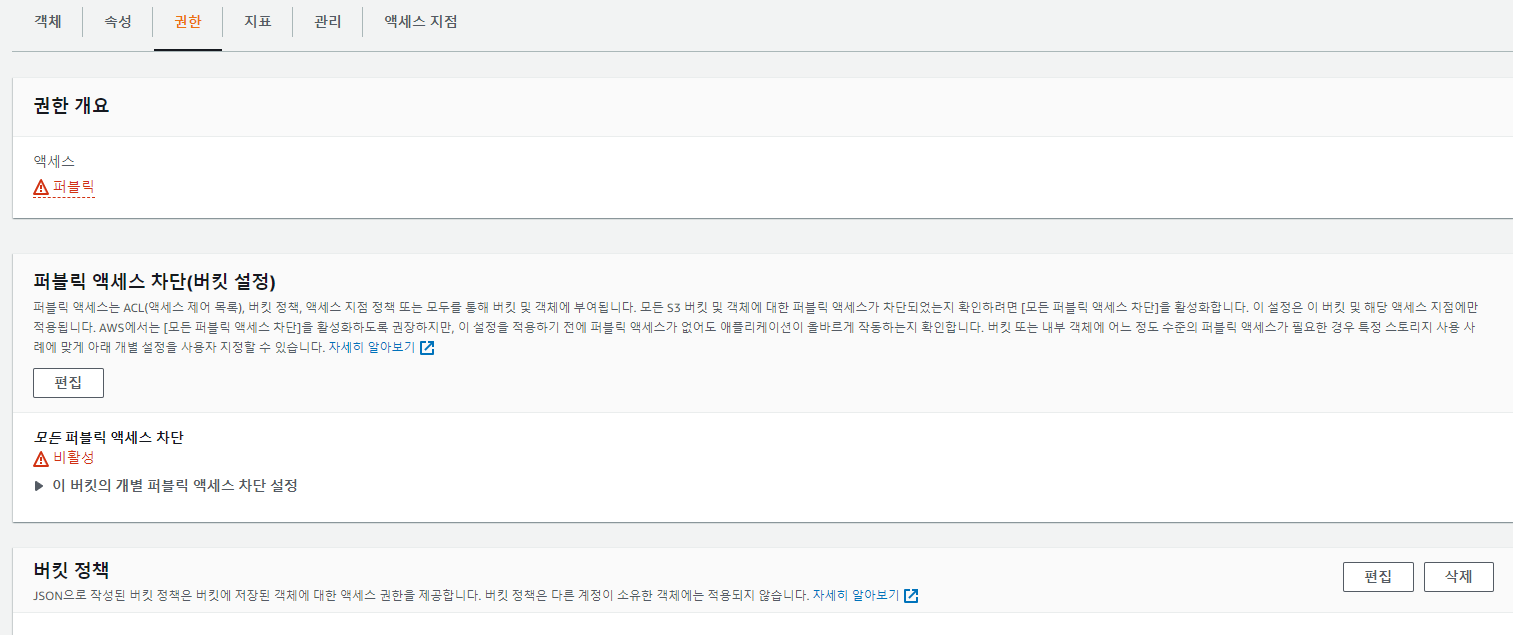
퍼블릭 엑세스 차단을 비활성화 시켜줘야 퍼블릭인 웹에서 엑세스 할 수 있습니다. 그리고 버킷 정책도 작성해서 엑세스 권한 설정도 합니다.

그 다음으로 해야할건 IAM을 이용한 AWS 리소스에 대한 안전한 액세스를 하기 위한 설정들을 몇가지 하려고합니다.
모든 작업에 대해 루트 사용자를 통해 작업하는건 보안상 매우 문제가 높은 방법이기 때문에 AWS에서 제공하는 IAM을 이용한 인증받은 사용자를 통한 접근을 하려고하는거임.
AWS에서 IAM 서비스를 들어가서 사용자를 만듭니다.
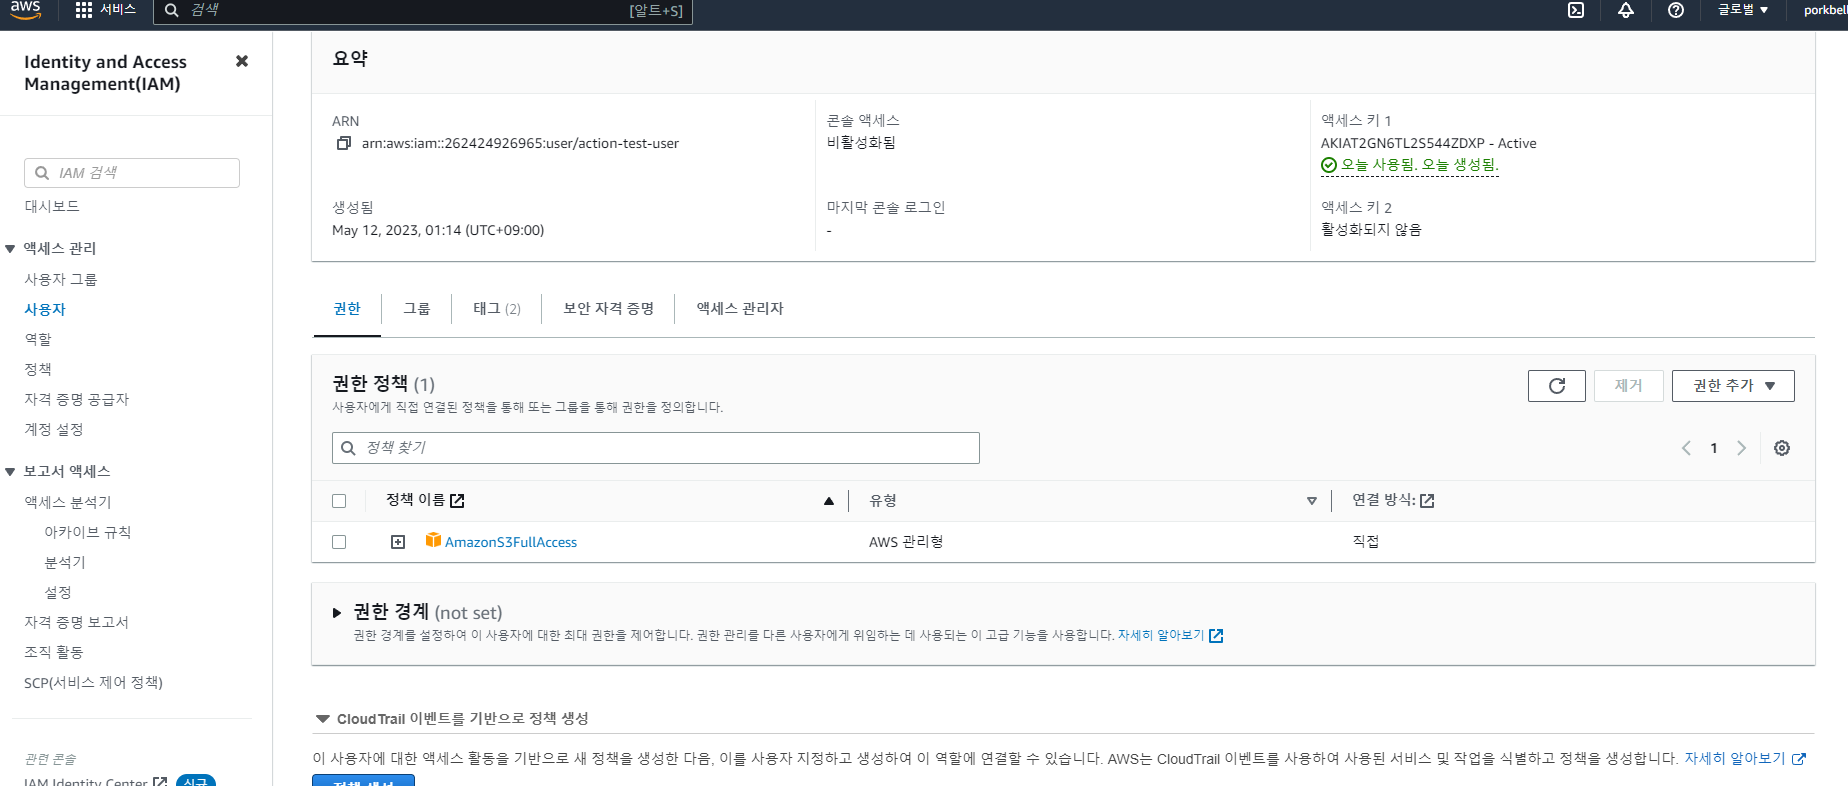
권한 정책은 AmazonS3 full Access를 선택해주고 보안자격증명 탭에 들어가서 제일 기본이 되는 API key도 생성해줍니다.
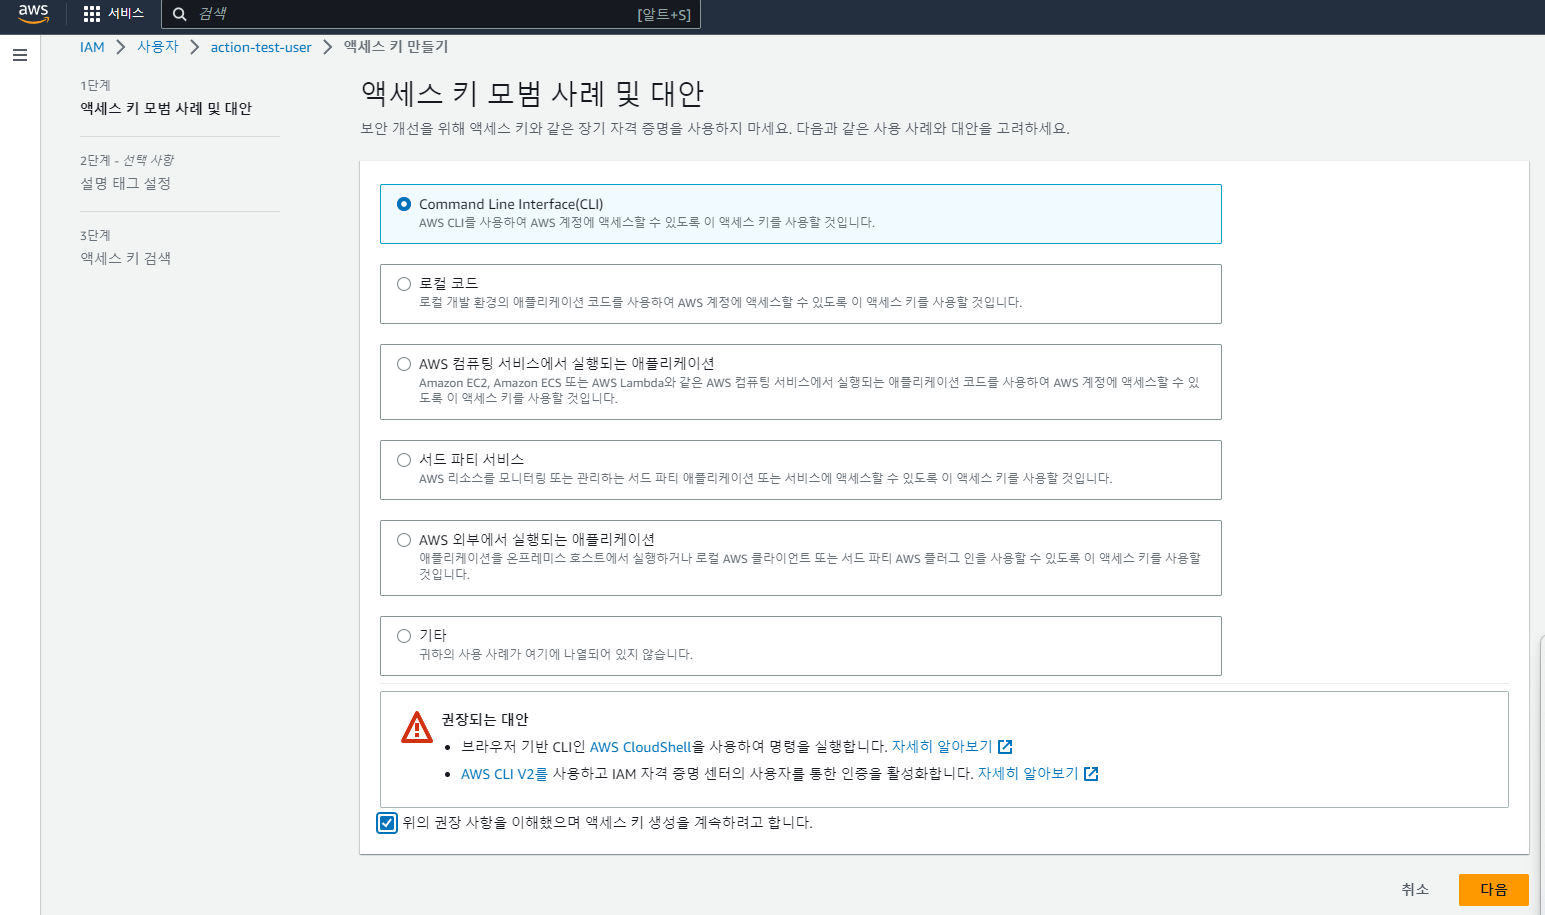
엑세스 키에 관한 설정을 github 액션에도 환경변수를 추가해줘야합니다. 아래 링크를 보면 기본적인 포맷이 적혀있습니다.
https://github.com/awact/s3-action
GitHub - awact/s3-action: Github action to sync to AWS S3 bucket.
Github action to sync to AWS S3 bucket. Contribute to awact/s3-action development by creating an account on GitHub.
github.com
# This workflow will do a clean installation of node dependencies, cache/restore them, build the source code and run tests across different versions of node
# For more information see: https://docs.github.com/en/actions/automating-builds-and-tests/building-and-testing-nodejs

name: Node.js CI

on:
  push:
    branches: [ "main" ]
  pull_request:
    branches: [ "main" ]

jobs:
  build:

    runs-on: ubuntu-latest

    strategy:
      matrix:
        node-version: [16.x, 18.x]
        # See supported Node.js release schedule at https://nodejs.org/en/about/releases/

    steps:
    - uses: actions/checkout@v3
    - name: Use Node.js ${{ matrix.node-version }}
      uses: actions/setup-node@v3
      with:
        node-version: ${{ matrix.node-version }}
        cache: 'npm'
    - run: npm i
    - run: npm run build --if-present
    - run: npm test

    - uses: awact/s3-action@master
      with:
        args: --acl public-read --follow-symlinks --delete
      env:
        SOURCE_DIR: './build'
        AWS_REGION: 'ap-northeast-2'
        AWS_S3_BUCKET: ${{ secrets.AWS_S3_BUCKET }}
        AWS_ACCESS_KEY_ID: ${{ secrets.AWS_ACCESS_KEY_ID }}
        AWS_SECRET_ACCESS_KEY: ${{ secrets.AWS_SECRET_ACCESS_KEY }}
환경 변수가 추가된 workflow의 node.js.yml 파일입니다.
SOURCE_DIR은 build 폴더안에 생성되기 때문에 바꿔주고,
AWS_REGION을 버킷설정에 맞게 작성해줍니다.
그리고 버킷이름과 액세스키 시크릿액세스 키는 환경변수는 setting 탭에 들어있는 Secret에다가 추가해줍니다.

요렇게 해주고 Action 들어가서 build 해주면?
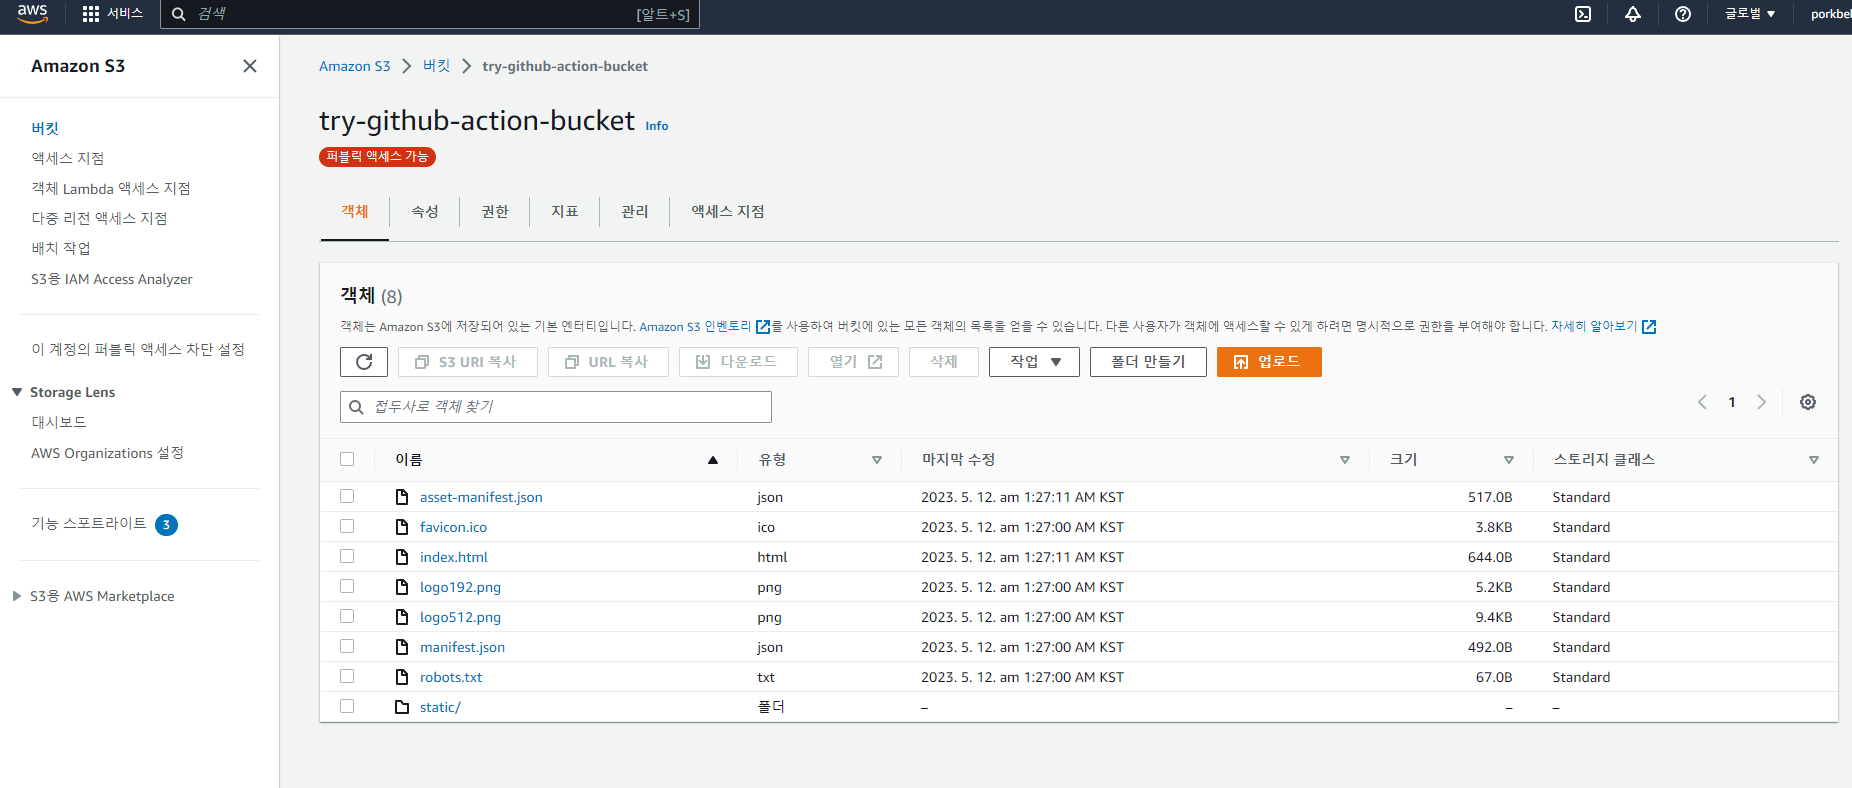
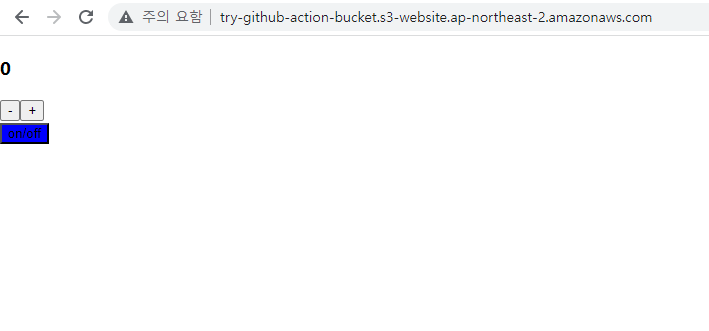
배포? 완료